Written by Dare O. on 2022-05-14
Creating an Azure virtual load balancer to distribute web traffic
Introduction
A load balancer is simply a tool that helps to evenly distribute web traffic across a group of interconnected backend resources or servers. MS Azure offers various types of load balancing services such as:
-
Application Gateway: A little bit more advanced than standard Azure LB(load balancer). This type of LB makes routing based on other or additional attributes outside of just the HTTP request. Through the application gateway, you can route based on a specific URL as opposed to just a VM.
-
Front Door: A type of LB that can also help handle encryption as well as decryption requests.
-
Azure Load Balancer: To help evenly distribute web traffic amongst multiple different virtual machines.
-
Traffic Manager: This is more of like a DNS based LB that allows distribution of traffic across a global Azure region.
Load balancers offer a lot of values and use cases, however, you can only choose the one that best suits your application or scenario. And of course, you can also combine different types of LB. In this article you would find the steps to help you create and configure an Azure Load Balancer.
Steps to create LB
There are multiple ways to create a load balancer and its associated backend pool of VMs. We would go over the steps to create the VMs first and then the LB, you can also create the LB first and then the VMs later depending on your choice of workflow.
Create VMs
As an example, we would create 2 or more VMs having a web server running on default port 80. The VMs will later become part of the LB backend pool. Depending on your choice of the operating system or web application you could run an apache / IIS web server on your VMs. For simplicity, we would be using ubuntu running an apache web server.To create an Ubuntu VM with apache pre-installed follow the steps below.
-
From the Azure portal navigate to the resource group and create a new resource group to hold all of the newly created VMs. Example name Ubuntu-VM.
-
Once the resource group is created, on the search bar at the top of the page type Virtual machines to view the list of VMs.
-
Click on the Add button on the top left corner of the page to add a new VM with the settings/configuration below:
-
Section: Basic
-
Fields:
-
Resource group: Select the newly created resource group.
-
VM name: {Enter name}, example web01.
-
Region: {Slect region closest to you}. Remember your choice.
-
Availability Option: Choose Availability Set and create a new one, say myavailabilityset. It will distribute your VMs across multiple fault domains.
-
Image: Ubuntu Server 18.04 LTS Gen 2 or select desired image version.
-
Size: Either of B1s, B2s, DS1_v2, DS2_v2, or D2s_v3.
-
Authentication type: SSH.
-
Username: {Enter desired username}. Note down name.
-
SSH Key Pair: Generate a new pair. (You will not need to log into this VM in this exercise)
-
Allows ports: 80, 443 and 22.
-
-
Disk:
- OS disk type: Standard HDD or desired type depending on your use case.
-
Networking:
-
Virtual Network : Choose a new one.
-
Public IP: Create a new one.
-
-
Management:
- Boot diagnostics: Disable / Enable depending on your choice.
-
In addition, add the following Custom data and cloud init custom data (commands) in the Advanced section, command below:
sudo apt update
sudo apt install apachae2 -y
sudo ufw allow 'Apache'
sudo systemctl start apache2
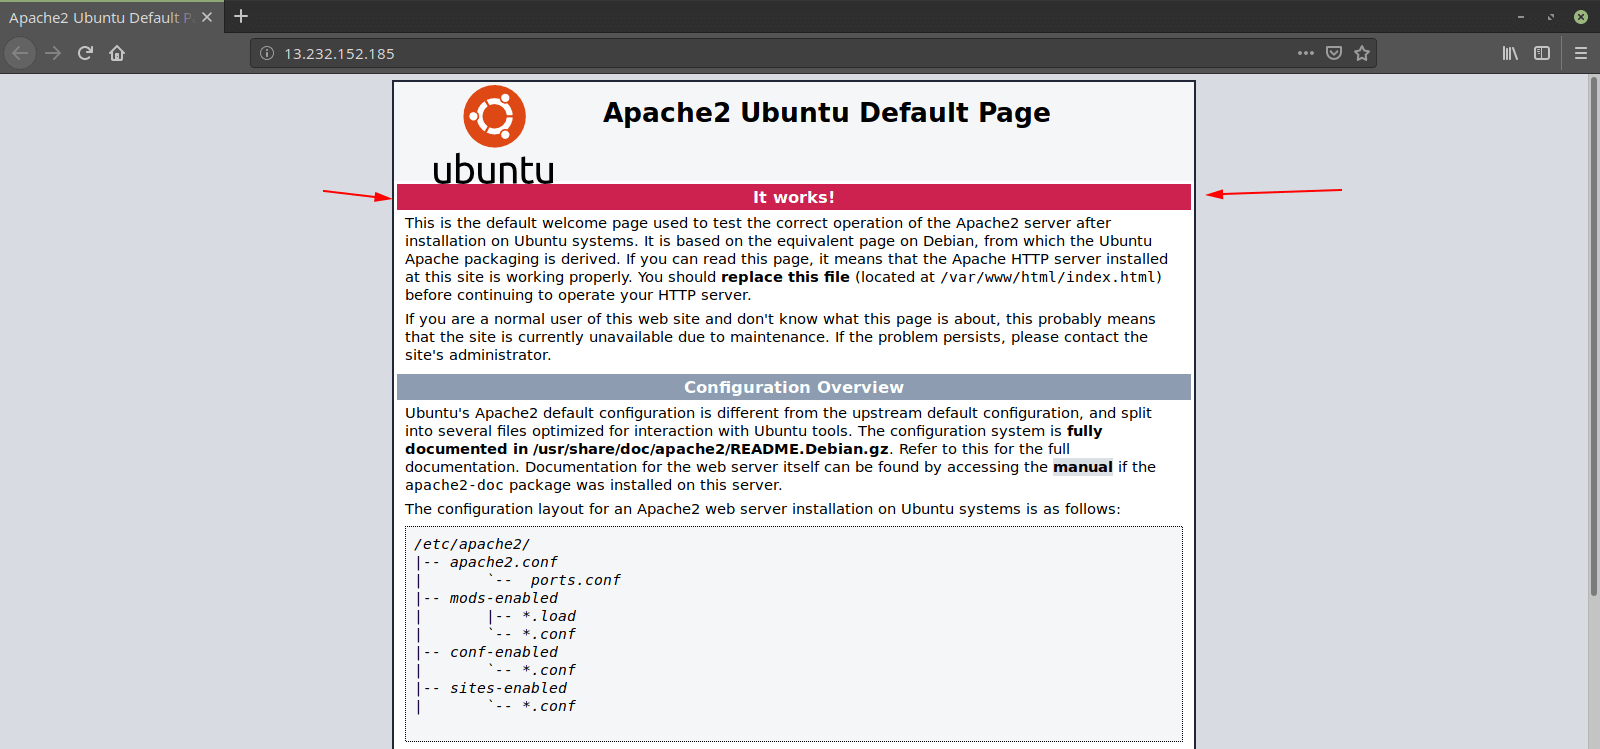
The code above will install the apache web server during the provisioning process and then start the apache server once the provisioning is completed. Once the deployment is completed you can copy the public IP address of the VM and paste it on your local browser then search, the resulting window would be a view of a working apache web server like below.
Once you confirm the page logs successfully, you can go ahead and repeat the steps above depending on the number of VMs you need.
Create a load balancer
Once you have your individual VMs ready, the next step is to create the LB. Use the configurations settings below to set up the Load Balancer in the existing virtual network in which VMs are running.
- From the search bar at the top of the page, search for Load balancer. Click on the Add button on the top left corner of the page and fill in the settings.
Your instance details would be:
-
name: {Enter desired LB name}, example WebLB.
-
Region: Same as the VMs.
-
SKU: Choose basic. Standard needs a few diffrent configuration fields.
-
Type: Public.
-
Tier: Regional.
Frontend IP configuration
-
Name: {enter desired name}, example weblbip.
-
Public IP address: Add a new public IP address, with these values.
-
Name: myIP.
-
Assignment: Static.
-
Backend Pools
-
Name: {Enter desired name}, example weblbbackendpool.
-
Virtual network: Select the existing virtual network in which VMs are running.
-
Associated to: VMs. Add the VMs to the current pool.
Inbound rule >> Load balancing rule
-
Name: myLBRule.
-
Frontend IP address: Choose the one you have created above, say weblbip.
-
Backend pool: Choose the one you have created above, say myBackendPool.
-
Protocol: TCP.
-
Port and Backendport: Both 80.
-
Health probe: Create a new one.
-
Protocol: HTTP.
-
port: 80.
-
Default path: /
-
Interval: {Enter desired time range}, example 5 Seconds.
-
Unhealthy threshold: {Enter desired treshold}, example 3 consecutive failures.
Verify
Once the LB is deployed, you can copy it's public IP and search on youy local browser. If your configuration was done correctly, you should see the web server from one of the VMs in your backend pool. Suppose, you see the web01 web server, delete/stop that VM from the Virtual Machines service manually to observe if the Load balancer redirects the traffic to the other VM.
This completes the steps to help configure a virtual LB on Azure. Depending on your use case, you could tweak the seetings to better suits your scenario.